Showing posts with label tutorials. Show all posts

Jul 16, 2014

cake pops

i finally decided i wanted to make cake pops...i've heard two sides and wanted to test it out:  

one: they are really hard and laborious to make

and...two: they are easy and delish!  

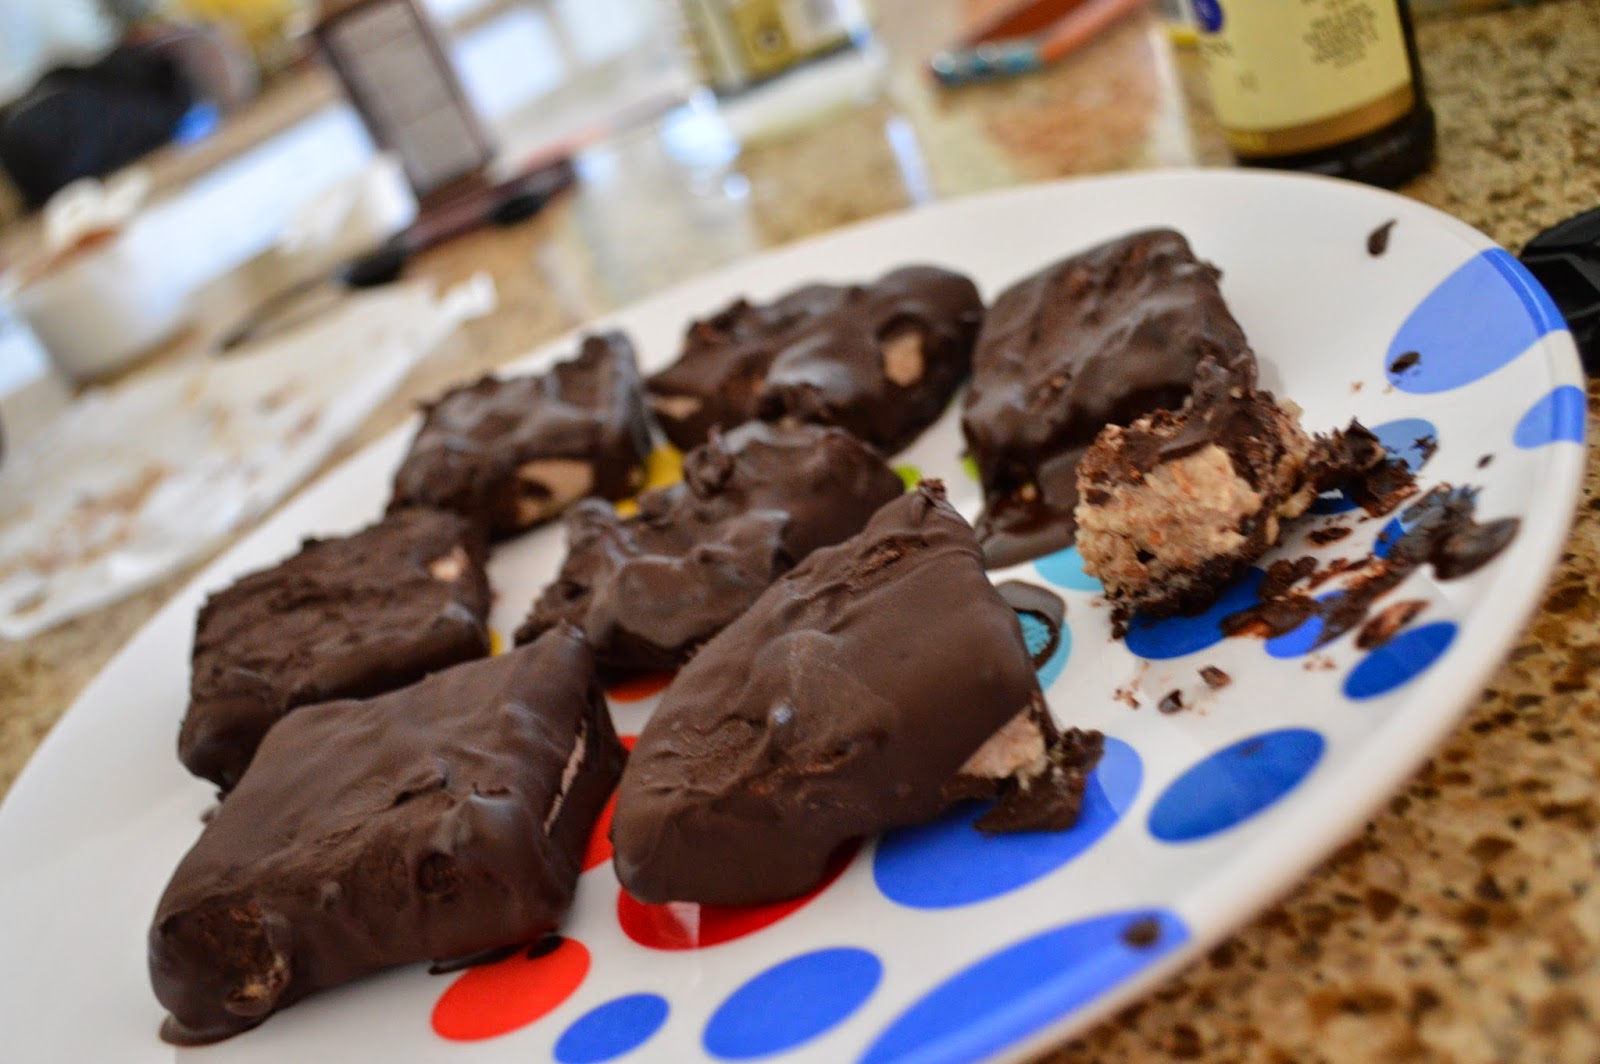
VERDICT IS IN:  they are easy AND delish!  this was our first "treat day tuesday" and the girls LOVED making them with me.

**P.S. did you see the crazy hubs photo bombing in the background?  he thought he was so funny


ingredients:

  • cake mix and ingredients to make cake (i used betty crocker super moist devil's food)
  • frosting
  • candy wafers (i used vanilla)
  • cake pop sticks
  • sprinkles (or other decorating items)


steps:
1.  bake cake according to directions on the back and then let cool almost completely


2.  using CLEAN hands (of course) break the cake apart into small, ground up pieces (resembling dirt almost)-this part was clearly fun for lil boo.


3.  add a little bit of frosting to the mix and stir (but not too much frosting or it will be too wet-like).  i believe i put about one BIG spoonful.  
4.  then roll into small balls (please refrain from the gross comments of these-geesh, you think i was raising boys the way my girls were giggling).


5.  melt a little bit of the white chocolate wafers and then dip the sticks in the chocolate and gently place in the balls...about half way down (if you can figure out how far that is without seeing the inside-i may have goofed a bit on these, but it worked out in the end).
6.  put in the freezer for about 20 minutes


7.  melt more of the chocolate wafers in a tall glass (if possible-it makes it easier to dunk the pops) according to the directions on bag (usually 30 second intervals).
8.  dunk the pops into the melted chocolate and sprinkle and place somewhere to dry.  

**note:  i did not have any styrofoam to place these in as they dried, this is why they are laying downward.  you can do either.  if giving them as gifts, they look better when you dry them right side up in styrofoam.
**other note:  don't move the pops around too much in the melted chocolate, just dunk and let the chocolate coat them.  i had several pops fall off of the sticks because i moved them around too much-don't worry though, i just ate those as i went along-oh, look at that...they tasted just as good :)


***ENJOY...i felt like one could be consumed in about 2 bites, which made me think i could eat about 3 of them to truly equal one piece of cake...i just made that up...but it worked for me.  we enjoyed these TREMENDOUSLY!!!

xoxo

treat day TUESDAY

i must first begin by saying one of my offspring DETESTED this and one LOVED it...

that being said, i found this recipe from an instagram superwoman (@lilsipper).  she has amazing recipes (and a few i probably wouldn't touch with a 10 foot pool- i.e. kale cake with squash frosting)...but i digress.  

this is a recipe for a CLEAN klondike bar
 (i mean, what would you do for a {CLEAN} klondike bar, right?).  
**i doubled this recipe to make 8 total.


ingredients
bars:
  • 1/2 cup soaked almonds (or cashews)
  • 1 banana

coating/sauce:
  • 1/4 cup coconut oil
  • 1/3 cup raw cacoa powder (i used hershey's cocoa 100% cacao-hoping that is ok)

steps:
bars:
  1. puree almonds and banana (don't add water)-used the blender and it worked splendidly
  2. poor into a bread pan lined with parchment paper
  3. freeze for 2 hours
  4. cut into 4 (or 8) squares and place back in freezer for 20 more minutes while you prepare the sauce
 

sauce:
  1. mix coconut oil and powder (should be melted enough to pour)
  2. then dip/pour/spread sauce all over bars (this got super messy)
  3. freeze for another few minutes


**i thought they would also be good rolled in sliced almonds...i may try that next time!
**these are not sweet, sweet, like milk chocolate, so you can add honey or agave (to keep it vegan) to the sauce or even vanilla extract-they are definitely a bit of an acquired taste
ENJOY! :) 

 xoxo
 

Jul 2, 2013

fruit of the spirit

i am currently reading a great book by elizabeth george entitled raising girls after god's own heart.  i am quickly realizing i am falling short of this task (not that i needed the book to show me that).  i purposed to make this summer a time of spiritual growth for both me and the girls.  so, after much thought and research i came up with this great idea to use the fruit of the spirit.  each week we will have a missionary family to pray for (our church supports several missionaries, some of which we have had the opportunity to meet), a bible verse to memorize, and a "fruit" to learn about.  we will also be looking for ways to share the gospel or at least be an encouragement to our neighbors (make cards, cookies, etc).  i thought the best way to remember to do these things was to have a visual reminder...enter the laundry clip chalkboard labels.  i bought these labels on a website called very jane (i am sure they are super easy to make though) and then i painted them and added magnets to the back so they'd hand on the fridge in plain sight, and did some fancy writing with my chalkboard pen (from michaels).  another idea would be to glue them onto an old rustic board or piece of wood...but i don't have the wall space...so the fridge it is.


i found this great website here that gives activities and ideas to help teach the different "fruits."  i just looked up bible verses that would go along with the "fruit" and then printed them as well.  to start i found some coloring sheets too of the fruit of the spirit for the girls to color as i begin to talk about them.  the missionary cards are from our church...i just picked up several of them so we could have a variety during the summer.  so excited for our new journey this summer!

Jul 1, 2010

some of my latest crafts

crafty mama at work...

CRAFT#1 is a flower topiary.
it is somethin' i found over at tatertots and jello  you can click on the link to find a tutorial.  i didn't really read directions very well, but rather just tried out a few things by myself.  it was fun and relatively easy.  it is time consuming however , as you need to make each of the flowers.  i think i used about 10 to 12.  it looks so cute in our newly painted blue living room (i LOVE being married to a painter).

 CRAFT #2 is a cute little miscellaneous bag.  
it can also be used to hold gift cards, make-up, credit cards, etc.  i made the green one for my mom and the red one for my mother-in-law for mother's day.  i haven't typed up any tutorial for it...just a few straight stitches and add some velcro and a flower to decorate the front.  i LOVE them and they make great gifts...especially when you include a little gift card to starbucks (yum!)

CRAFT #3 is a cookie/candy jar.  
i took one of my old formula containers and decorated it with cute paper and hot glued a flower on the top of it.  i kept this one, but made another one and added some cookies inside.  another great gift to give! i have begun keeping my old jars and containers to turn into gifts.  it is fun to think of how i might use the next container i have.  oh, and glass jars (i.e. spaghetti jars, olive jars, etc make excellent vases-unique shapes too).

CRAFT #4 is a repurposed gift bag.
I had this Starbuck's bag given to me.  it has this cute design, but doesn't make for a very cute bag for kids...UNTIL you add some ribbon and a tissue paper flower.  i cut the bag down and with a scalloped edge for decoration.  i poked a hole on each side and tied knots to secure the ribbon handle.  i also glued some ribbon around the entire bag.  it won't hold anything heavy, but it works for light, small gifts.

CRAFT #5 are little girl bracelets (shower rings repurposed)
i found this over at two shades of pink (a blog i follow regularly and just LOVE-check her out and you, too, will be blessed!).  they are so cute and so easy to make.  buy some ribbon and wrap around the shower ring, hot gluing as you go (be careful NOT to burn yourself with the HOT glue...i'm just sayin!)

Apr 8, 2010

burlap and material table runner

i just love burlap and am always looking for new ways to use it as a decorative piece in my house.  my latest is the table runner.  i put out a piece of it on the table and placed plants and vases and candles on it...but soemthing was missing.  so, i bought some material and added it to the edges to spice it up a bit.
step #1:  measure out and cut your burlap and the pieces of material to fit the four sides of the burlap.
step #2:  fold over the edges around the burlap, where you want it placed, and pin.  once you have pinned all sides sew each of the sides.

viola! you have a new table runner.  now, remember i just got my sewing machine...so please don't look too closely at the edges (i am still learning).  i am sure you more experiecned seamstresses could have cut the corners at a 45 degree angle and made them match up really nicely...but...i don't have the patience.  i just wanted to see what it would look like finished.

Mar 21, 2010

burlap vase

the burlap jar:


another repurposed item.  i love buying and receiving candles for gifts because i burn them all the time to make my house smell nice.  usually they come in pretty glass containers and i just hate to throw them away. so, i clean them out and use them to put other candles in or flowers, but this time, i thought i would add a little burlap (burlap makes everything a little cuter).
step 1:  clean out the jar-i find that gently pushing a knife around the edges of the remaining wax will loosen it up and make it easy to remove.  sometimes i will even freeze the jar, not sure if this is an old wives' tale or not, but it helps out sometimes.
step 2:  cut your pieces of burlap-they can be two or three varying sizes in the shape of squares.


step 3:  (a) fold the first burlap square in half and (b) then in half again.  (c) holding the corner, cut a 1/2 circle shape, leaving it looking like an ice cream cone.  (side note:  if you want it to look like a scalloped flower, then really accentuate the angle of the cut).

 (a)
(b)
(c)


step 4:  hot glue the smaller circle onto the larger one and add a button or gem or old piece of jewelry for decoration.


step 5:  cut a strip of burlap, whatever width you would like, and glue the end on to the glass jar.


step 6:  glue the flower onto the seam where the two ends meet.  that way the seam will be hidden.  fill it with flowers or a votive candle and enjoy!  i put it on my kitchen table to add to the spring centerpiece.

chalkboard painted glass containers

chalkboard craft #2:


this is the second of my chalkboard paint ideas.  i re-purposed an old salsa jar.  once i was finished with the jar i cleaned it out really well (ok, that may be the obvious part of the tutorial, but oh well, thought i'd include it).  painted two coats...my husband, ya know, the professional painter, says i should have used a primer so the paint wouldn't just chip right off the glass.  i am too impatient and went ahead anyway.  write a lovely message or word and add some flowers...too cute and very simple!

chalkboard crafts

so i was reading one of my favorite blogs- www.twoshadesofpink.blogspot.com -when i came across this great chalkboard paint idea.  it got me thinking that i could do lots with chalkboard paint.  so, i went to home depot and bought a can of it for $12.00 and away i went.  i am thinking it will last me quite awhile. 
project #1:  the clay pot:


this project is so easy.  i painted the first coat of the terra cotta pot.  it took about 30 minutes to dry (but read directions, in case i am wrong).


don't forget to paint just a bit of the inside, the part that might show if your plant or soil doesn't cover all the way to the top. once dry apply a second coat and allow ample time to dry.  so cute to plant any fruit, vegetable, herb, or flower.