Showing posts with label crafts. Show all posts

Jul 16, 2014

summer fun schedule

got the mid-summer blues? 

kids askin' ya every day 
"what are we doing today?"  

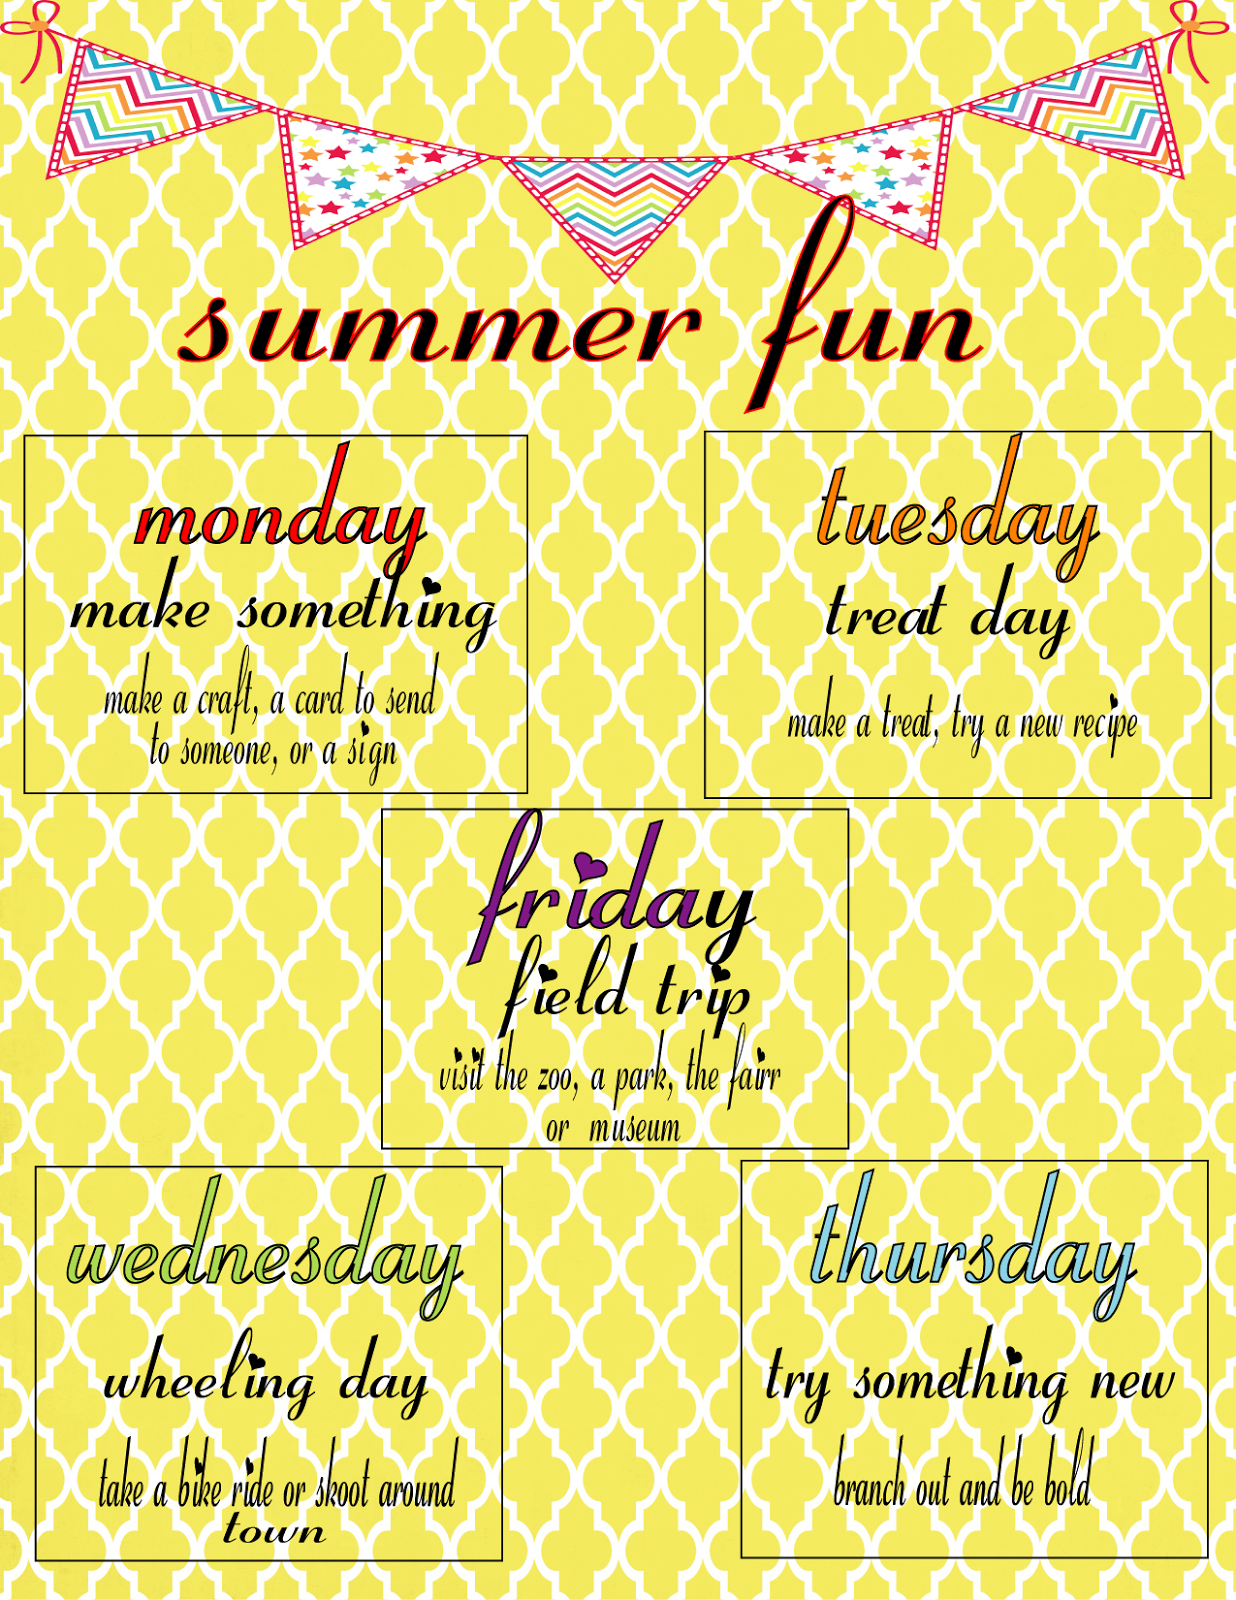
well, here is a little pick-me-up to help you plan a little something fun for each day of the week.  

**by the way...my kids ask me this almost everyday, but i DO.NOT.HAVE. the mid-summer blues....who doesn't really love summer (especially when you are a teacher). 
 

  • make something MONDAY
  • treat day TUESDAY (this is their 2nd favorite day)
  • wheeling WEDNESDAY
  • try something new THURSDAY
  • field trip FRIDAY (this is favorite day)

try clicking on the picture to enlarge and print out.  if you have trouble just email me and i'll send you a copy.

xoxo

Jul 15, 2014

popsicle stick bracelets


i was feeling like gettin' my craft on with the girls since it was "make something monday".  i turned to my tried and true friend:  PINTEREST (did i mention i heart pinterest)?

here is what you need:
  • craftsticks
  • modge podge
  • glue gun or white glue
  • decorative paper or washi tape
  • cup for drying/shaping
  • container for soaking
  • any other fancy decorating items
STEP 1:
soak sticks in water for a VERY.LONG.TIME...the post said a few hours, but i soaked for almost the whole day.  you will know they are ready when you can gently bend them without them breaking.


STEP 2:
gently bend each stick and place inside of a cup to form the shape.  there will be a few casualties along the way.  also, some may start to break along the sides.  these can be salvaged..just file them down with sand paper or a nail file before decorating.  i let these dry over night...and then some!

when they are finished drying they will look like this.  some of mine didn't quite get the shape of what i was hoping for and they don't necessarily fit my girls' wrists, but that's ok...it was more for fun (plus, they fit mine, so i'll be wearing them : : wink, wink).


STEP 3:
cut paper and either use a glue gun or white glue to adhere the paper to the bracelets.  i cut the paper slightly bigger than the bracelets themselves and then after they dried i cut off the excess.  once dry, brush on the modge podge over the paper and let dry.  this will give it a shiny, protective coat.  when they are completely dry you can decorate even more with fake flowers, beads, etc.  i added a felt pink flower to one of mine to gussy it up.  i also used washi tape on a few of them and it turned out looking good.


here are some finished products.  i think they turned out pretty stinkin' cute if i do say so myself.


xoxo
 

Jul 2, 2013

fruit of the spirit

i am currently reading a great book by elizabeth george entitled raising girls after god's own heart.  i am quickly realizing i am falling short of this task (not that i needed the book to show me that).  i purposed to make this summer a time of spiritual growth for both me and the girls.  so, after much thought and research i came up with this great idea to use the fruit of the spirit.  each week we will have a missionary family to pray for (our church supports several missionaries, some of which we have had the opportunity to meet), a bible verse to memorize, and a "fruit" to learn about.  we will also be looking for ways to share the gospel or at least be an encouragement to our neighbors (make cards, cookies, etc).  i thought the best way to remember to do these things was to have a visual reminder...enter the laundry clip chalkboard labels.  i bought these labels on a website called very jane (i am sure they are super easy to make though) and then i painted them and added magnets to the back so they'd hand on the fridge in plain sight, and did some fancy writing with my chalkboard pen (from michaels).  another idea would be to glue them onto an old rustic board or piece of wood...but i don't have the wall space...so the fridge it is.


i found this great website here that gives activities and ideas to help teach the different "fruits."  i just looked up bible verses that would go along with the "fruit" and then printed them as well.  to start i found some coloring sheets too of the fruit of the spirit for the girls to color as i begin to talk about them.  the missionary cards are from our church...i just picked up several of them so we could have a variety during the summer.  so excited for our new journey this summer!

get your craft on-pinterest style

i just love pinterest...and i try to emulate the recipes, crafts, hair designs, nails, etc that i repost.  i saw this reading nook on one post and knew i wanted to make it.  the problem was where to put it in the girls' room.  i finally decided the only place would be in the closet doorway.  off to hobby lobby to buy material and a tension rod.  i sewed (and boy do i use that term loosely) a little seam in which to place the tension rod through and viola!  the reading hide out was finished...the girls are so excited and don't care that i didn't sew the seams all around..shh...don't tell them-they think it is just about the greatest thing.


Dec 11, 2011

christmas decorations

christmas is my second favorite time to decorate the house (behind fall).  
the pictures are bad (took them at night-oops), but here is a glimpse into our decorations. 

the nativity scene 
(i heart the wise men sign-found a great one online, but they wanted 
$5 for the pdf file...decided to just make one myself).  i put one of those push lights in the nativity scene, it fell, so it doesn't light up very well..boo hoo)


the wall that i can change out for the seasons.  those are turquoise blue ball ornaments in a glass container on the table.  surrounding it are scrap pieces cut from the bottom of the christmas tree.
 addison's snowman art
 these are just snowflake tree ornaments hung from a frame with no glass in it.

the christmas tree...this is the top of it.  
i went for the silver and light blue look, with mostly ball ornaments and a light blue ribbon woven around.  i also added some starfish in it to give it a beachy feel...
nice little saving tip:  we bought the 5-6 foot tree for $20 and placed it on a stepping stool to raise it about a foot...i put some green burlap and a tree skirt at the bottom and the girls decorated with some of their dolls and stuffed animals.  anyway, it saved us $10 on the tree and it looks great.


the mantle
i wanted to go for the natural look, so i used twig balls, white lights, white candles with twine, and some white/gold/silver sprigs of eucalyptus (plastic ones from michaels). 
and the stockings were hung by the chimney with care...


 to hang the stockings i used the removable hooks from 3M and bought these little frames at michaels last year-put each family member's picture in one.  
sad this year not putting kona's stocking up-RIP :(

 the advent calendar
these are made from envelopes cut in half.  each has a number on it that corresponds to the dates in december.  the envelopes are filled with a couple of verses telling the story of jesus' birth (taken from luke 2), along with an activity for the family (read a story, color a picutre, watch a christmas movie, etc).  i blogged about it last year, but i can't find it right now

merry christmas!

christmas crafts with kids

these are not mind blowing activities do with the kids, but they are cute and fun.  i cut out all the pieces for the snowman picture and then let the girls glue everything on.  this is addison's picture.  i have a hole punch in the shape of stars, so i punched some star shaped snow.  i LOVE this frame...got it for $1 at a garage sale and i just rotate pictures the kids make throughout different seasons.

the girls decorated their trees with ornament and light stickers.  i love how addison's are all neatly aligned, while august's are just everywhere...that matches their personalities.  these are currently adorning the fridge.

Oct 25, 2011

halloween crafts

CRAFT #1:
MODGE PODGE PUMPKIN CANDLES
as is usually the case come mid-september, when the realization that summer is over, i can't wait to start doing fall crafts with the girls.  i found this one on the cover of some magazine in my teacher's lounge at school (i think it was women's day).  it was so easy, even with a 3 and 4 year old.

materials:
  • modge podge
  • glass container (i used recycled jars)
  • paint brush
  • orange tissue paper
  • black construction paper
directions:
  1. cut small strips of orange tissue paper
  2. pour small amount of modge podge in container (i added some water to dilute)
  3. brush some modge podge on the jar and start placing the tissue paper
  4. at the end you can cut out a face with the black construction paper
this was quite fun and looks really cute at night when there is a candle inside.  enjoy!


CRAFT #2: 
DECORATING YOUR TRICK OR TREAT CONTAINER

aside from using a pillow case (which we will reserve until the girls are older and i really need LOTS of candy), this is quite possibly the cheapest (and most fun) way to prepare for trick or treating.  i was at the dollar tree (our favorite store) and found these orange pumpkin containers.  i thought it would be cute to buy them for the girls for halloween to trick or treat.  then...low and behold...right next to them were these glow in the dark halloween stickers...  stickers are the next best thing to sliced bread in my house.  i thought this could entertain the troops while i made dinner one night.  they had a blast and for a change, i didn't care where they put the stickers.  i even wrote their names with a sharpie, to eliminate future fighting...oh, yes!


Sep 11, 2011

pallet love, part 1

i have started a love with pallet wood.  i find random pieces on the road or behind buildings, load them in the car, and then disassemble and repurpose the wood into great crafts.  this is how i spent the summer crafting.
the first craft was a book shelf.  i have this in the playroom and we used it to house our library books over the summer so we'd always know where they were when it was time to return them.  this was big boo's brilliant idea.

 the second project was an outdoor coffee table.  i took a few pictures while i was doing it to show how it was completed, but got side tracked as i got to work.  i was so proud that i had used mark's tools WITHOUT him.  power tools are liberating and empowering.  LOTS of hard work as i pulled pieces off.


 the next projects was a wall hanging made from part of a fence.  my dear friend becky gave me some pieces of wood and fence she had salvaged.  it sat in my backyard for a month or so without any inspiration...until i found this great idea on tater tots and jello.  i attached some wire and hung it in the girls' room.  it reads "you are loved...always...john 3:16."  i want them to always know that they are loved by not only me and mark, but by jesus too, who died on a cross for their sins.


 the last project, which unfortunately remains unfinished, is a hanging porch swing.  mark was very gung-ho about it at first, but then we ran out of wood and haven't picked up any more to finish (boo hoo).  i don't heart leaving projects unfinished...must.finish.soon!!!  here is the start of the project...hopefully more to come SOOOOON!!!